Android TripGuide 101 Quickstart
The app is designed to be intuitive and easy to use, hopefully no user manual needed! However, if you want a quick overview, here is a TripGuide 101 Quickstart guide.
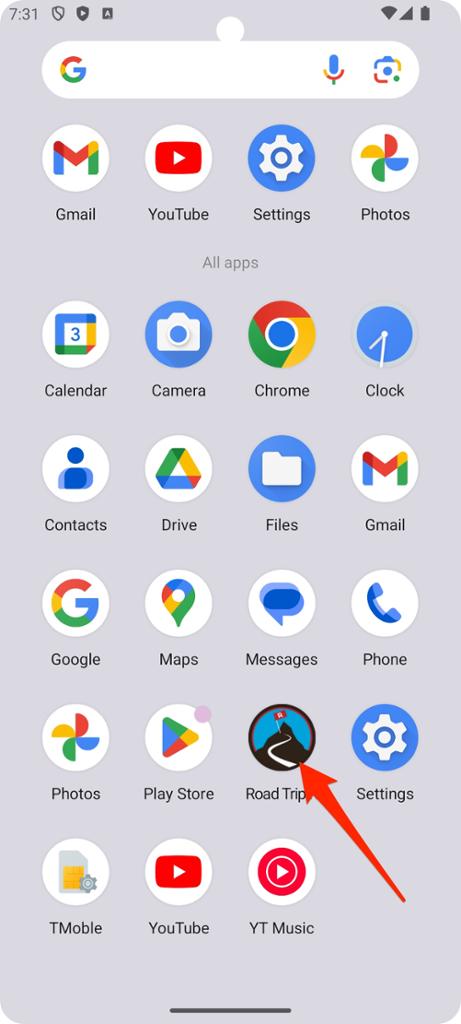
Open the app. I know, does this step really need to be listed?!?!
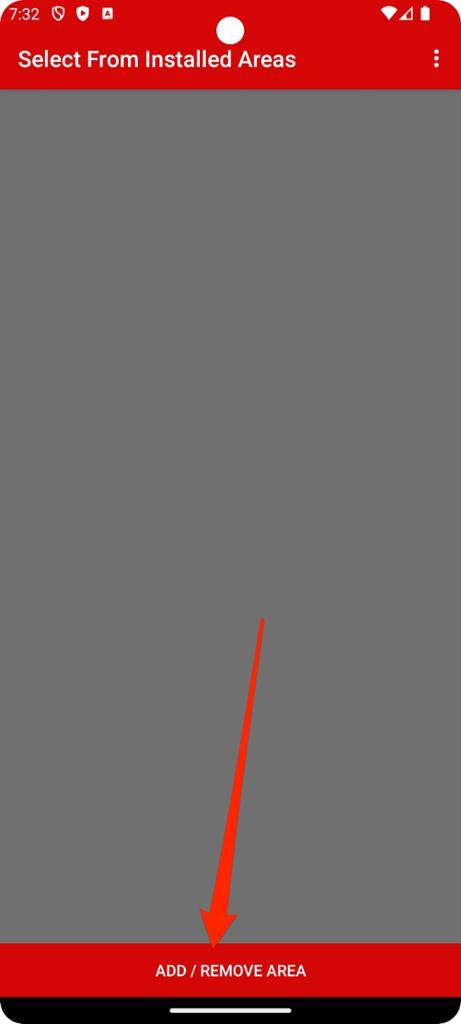
The main screen shows all installed areas. Since there are no areas installed yet, tap Add / Remove Area.
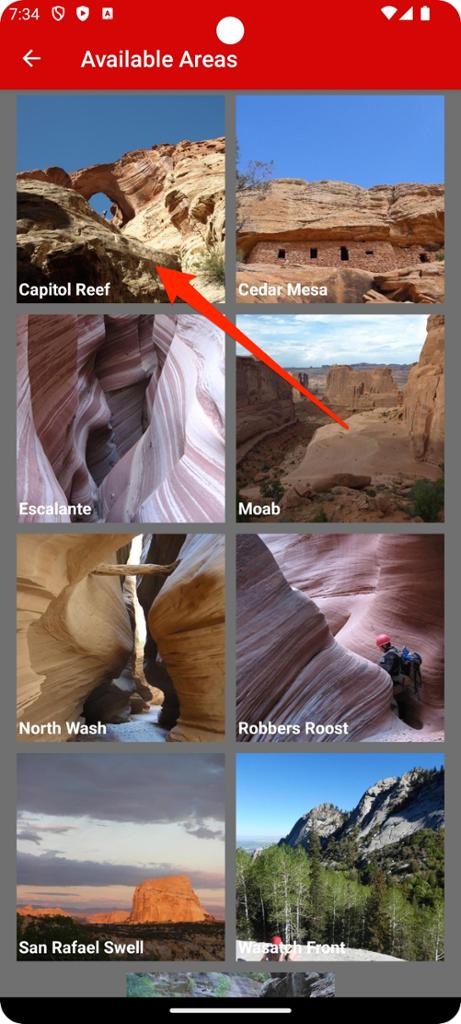
From the list of all available areas. Tap on an area to view its details. Capitol Reef in our example.
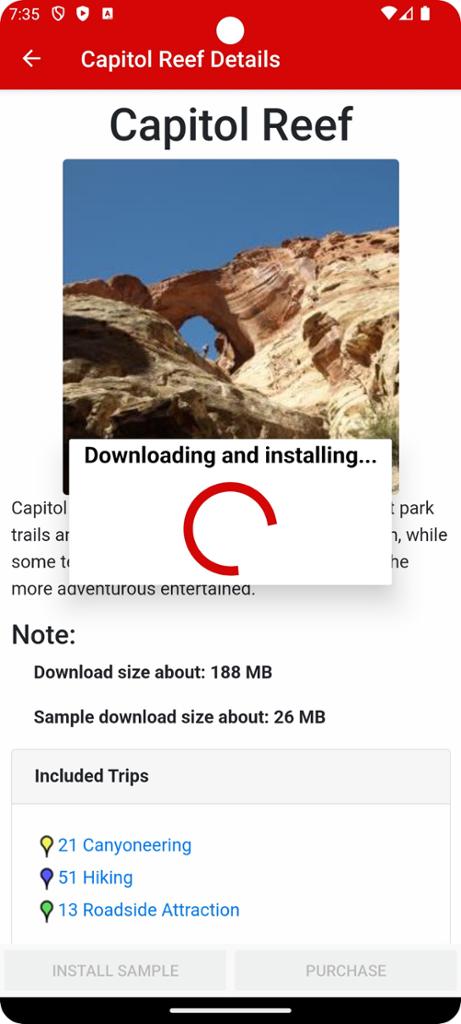
Install the Install Sample, or Purchase the area, then download the area.
The download may take a few minutes depending on connection speed.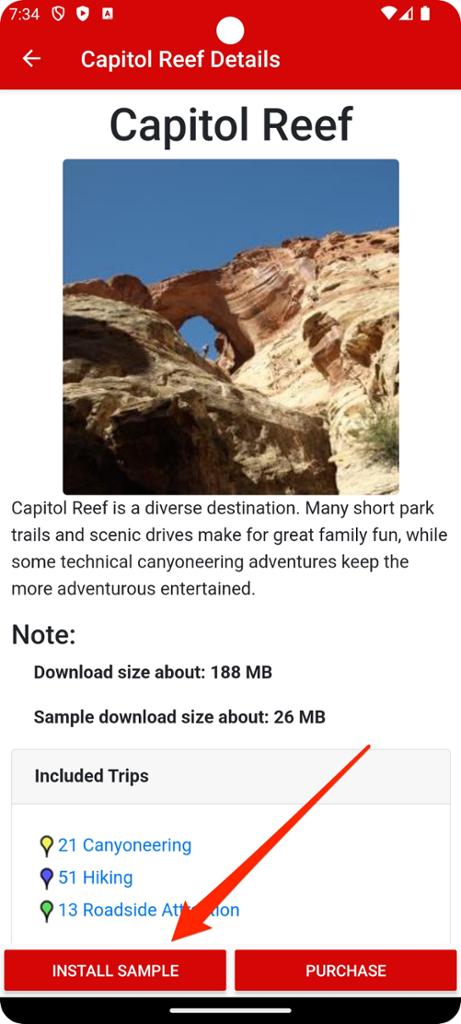
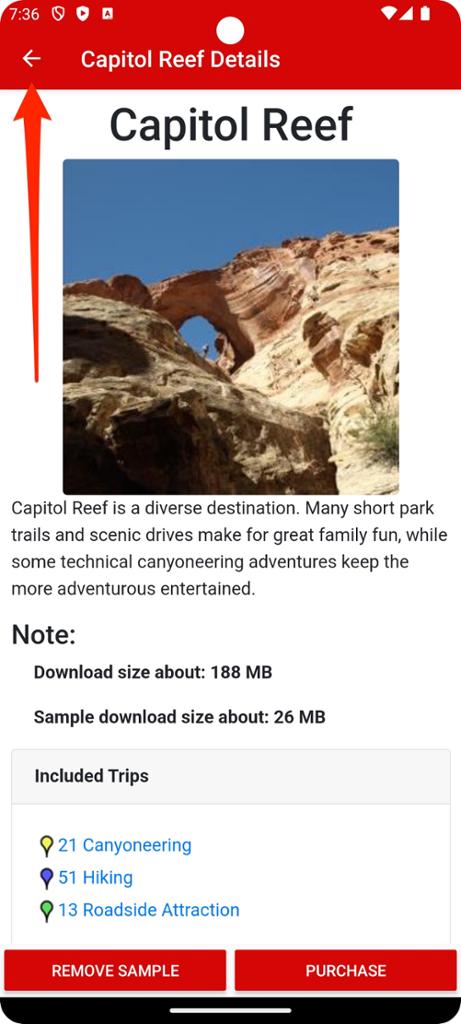
Tap the back arrow at the top left corner of the screen to go back to the list of available areas, then one more time to go back to the list of installed areas.
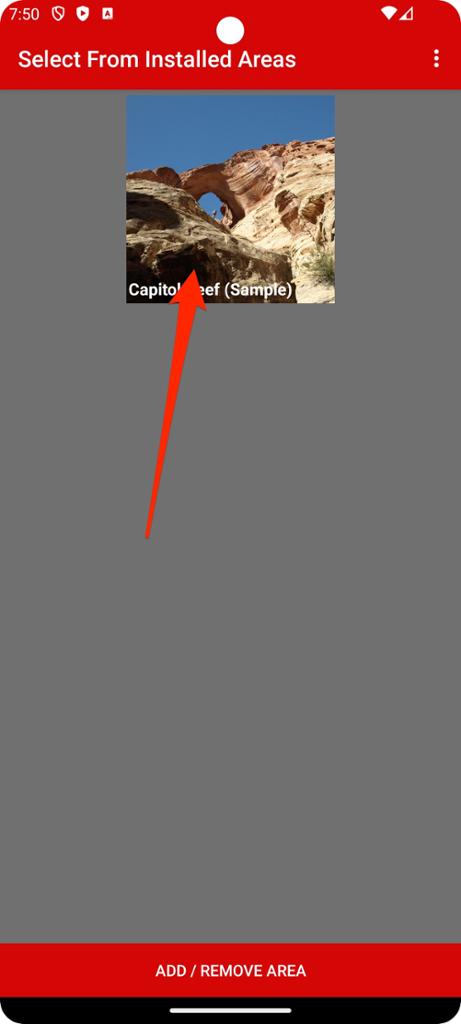
Capitol Reef (Sample) should now be installed.
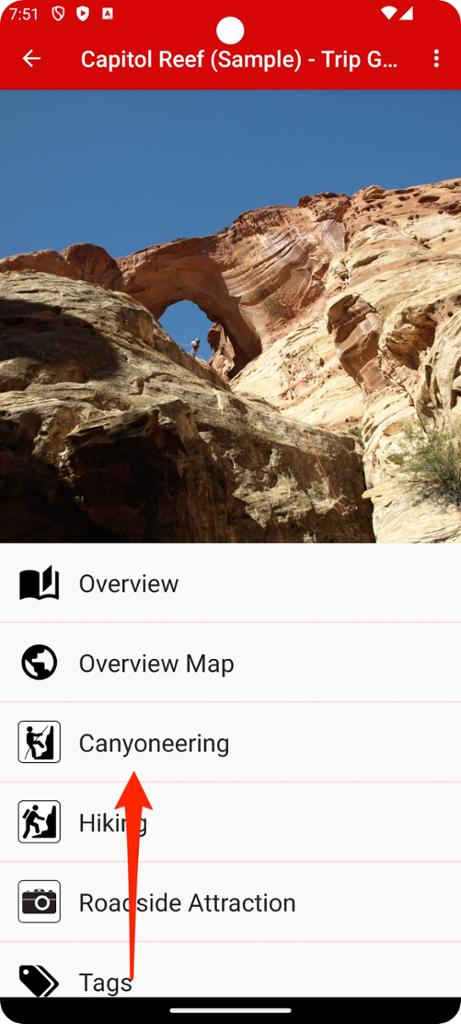
Tap Capitol Reef (Sample) to see the area details.
Tap on the type of adventure you are interested in. Canyoneering in this example.
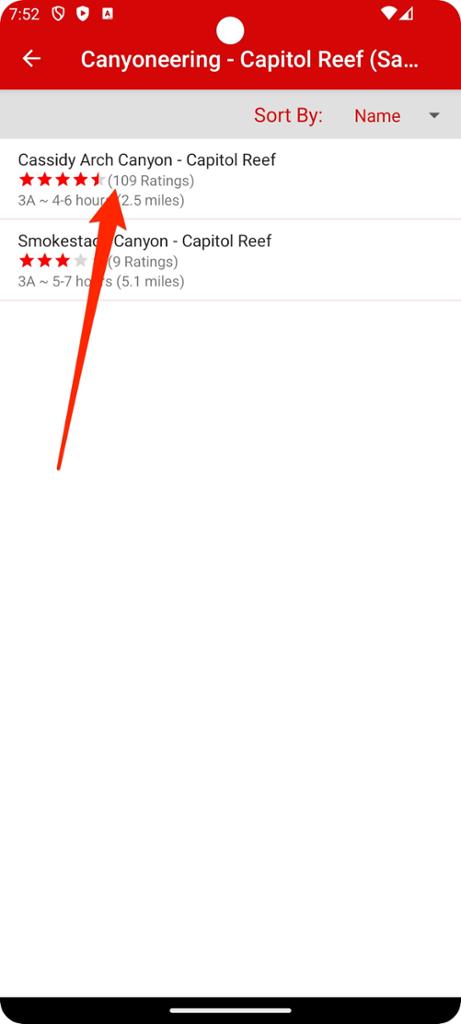
Tap from the list of canyons. Choosing Cassidy Arch in this example.
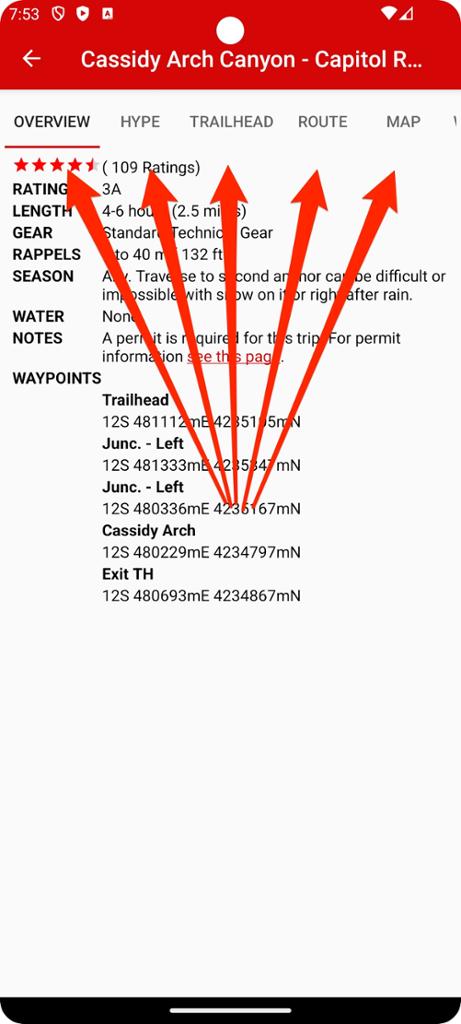
View the details! Tabs at the top organize the different trip details sections.