iOS TripGuide 101 Quickstart
The iOS app is designed to be intuitive and easy to use—hopefully no manual needed! However, if you want a quick overview, here is the TripGuide 101 Quickstart.
Open the App.
I know, does this step really need to be listed?!

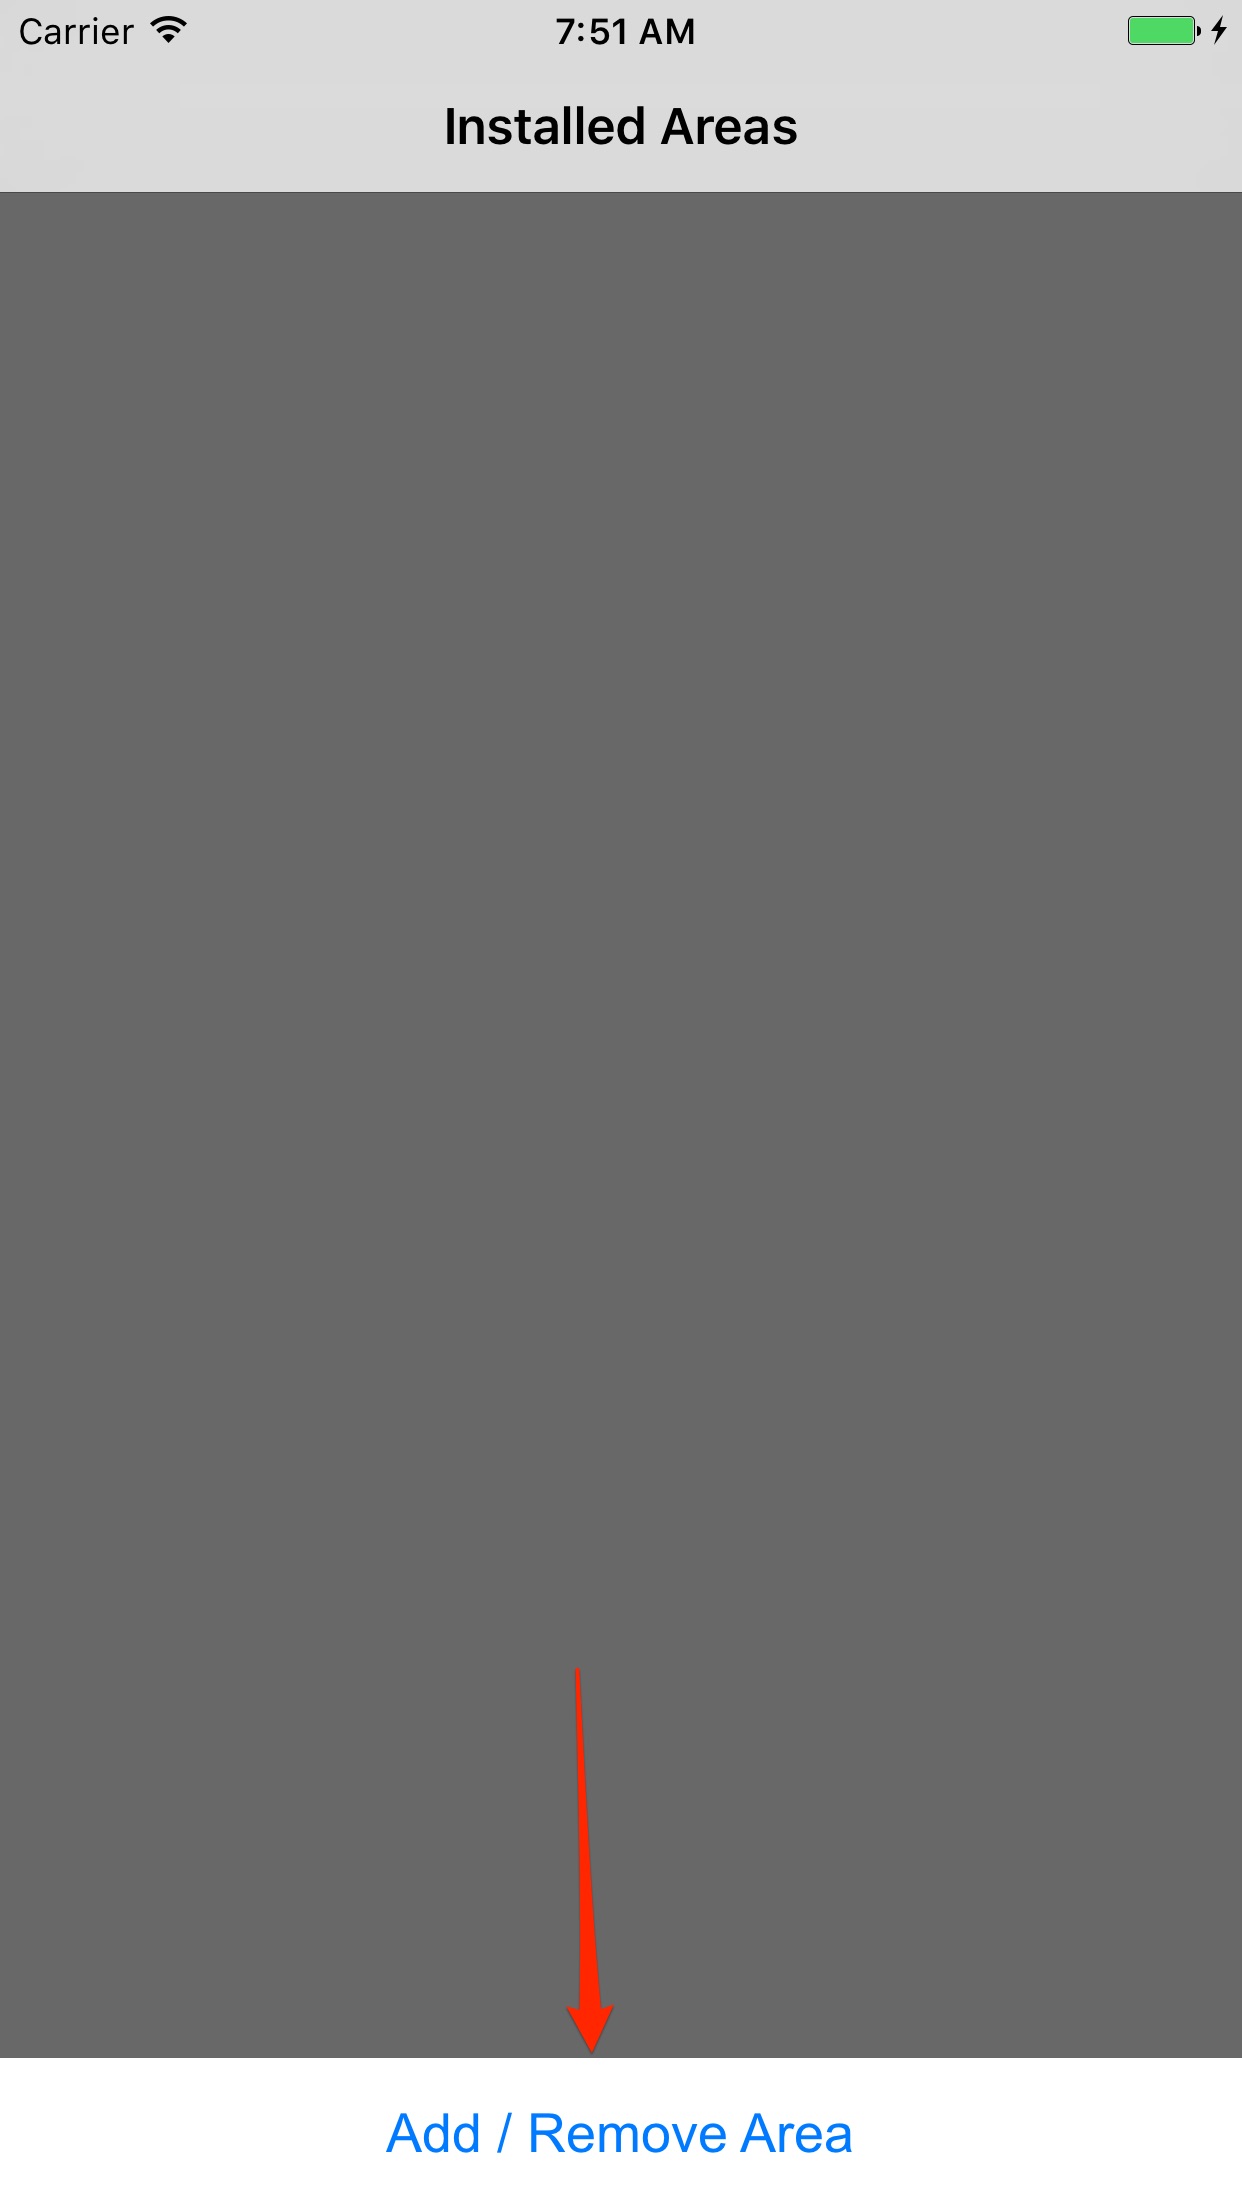
Tap Add / Remove Area.
The main screen shows all installed areas. Since there are no areas installed yet, tap the primary button to get started.
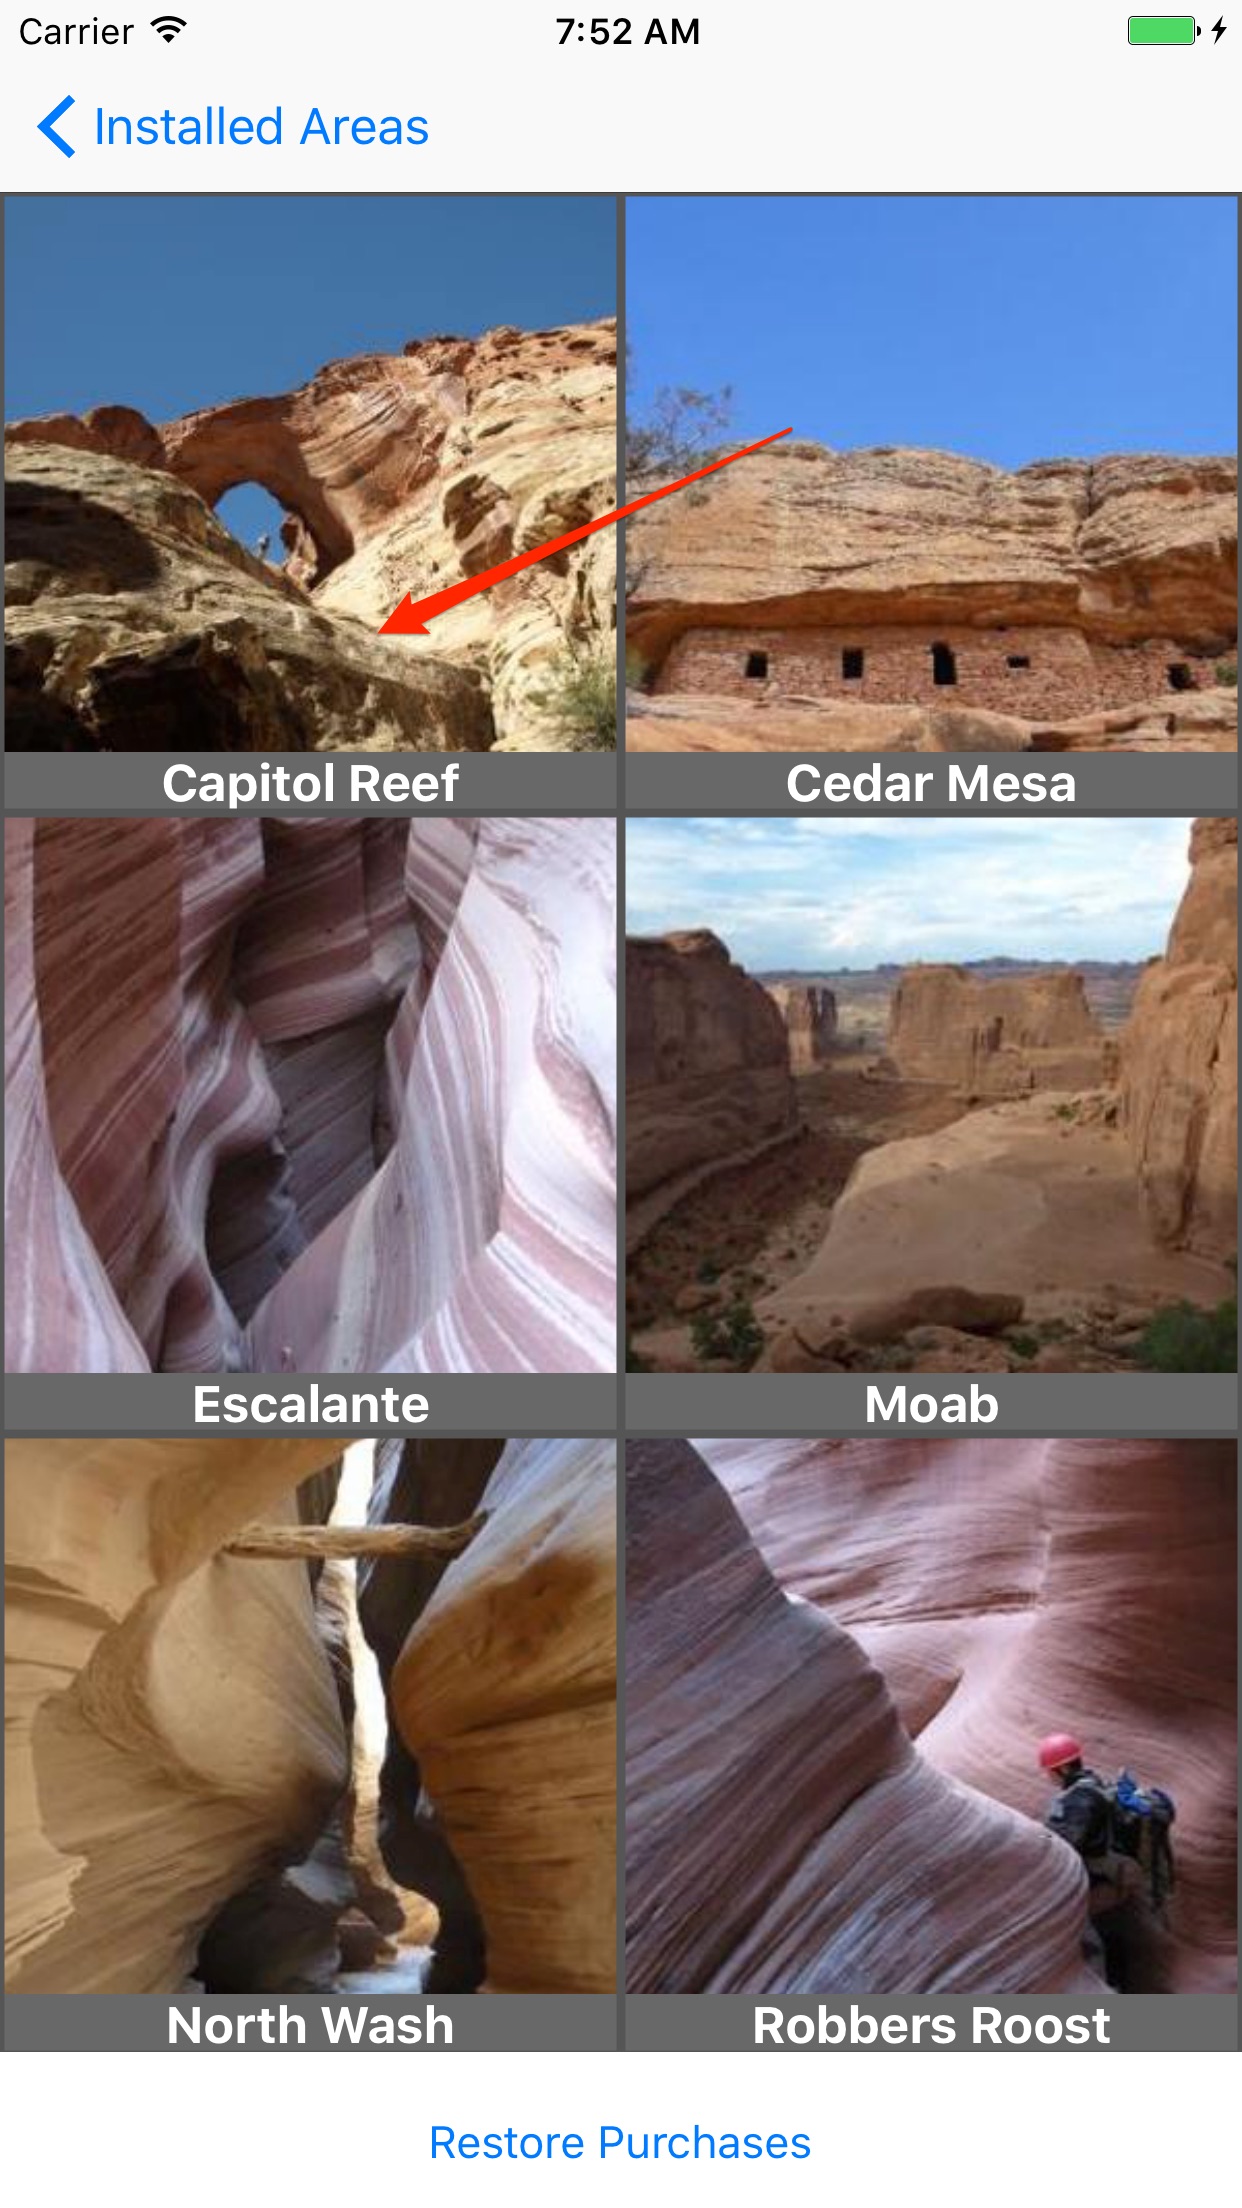
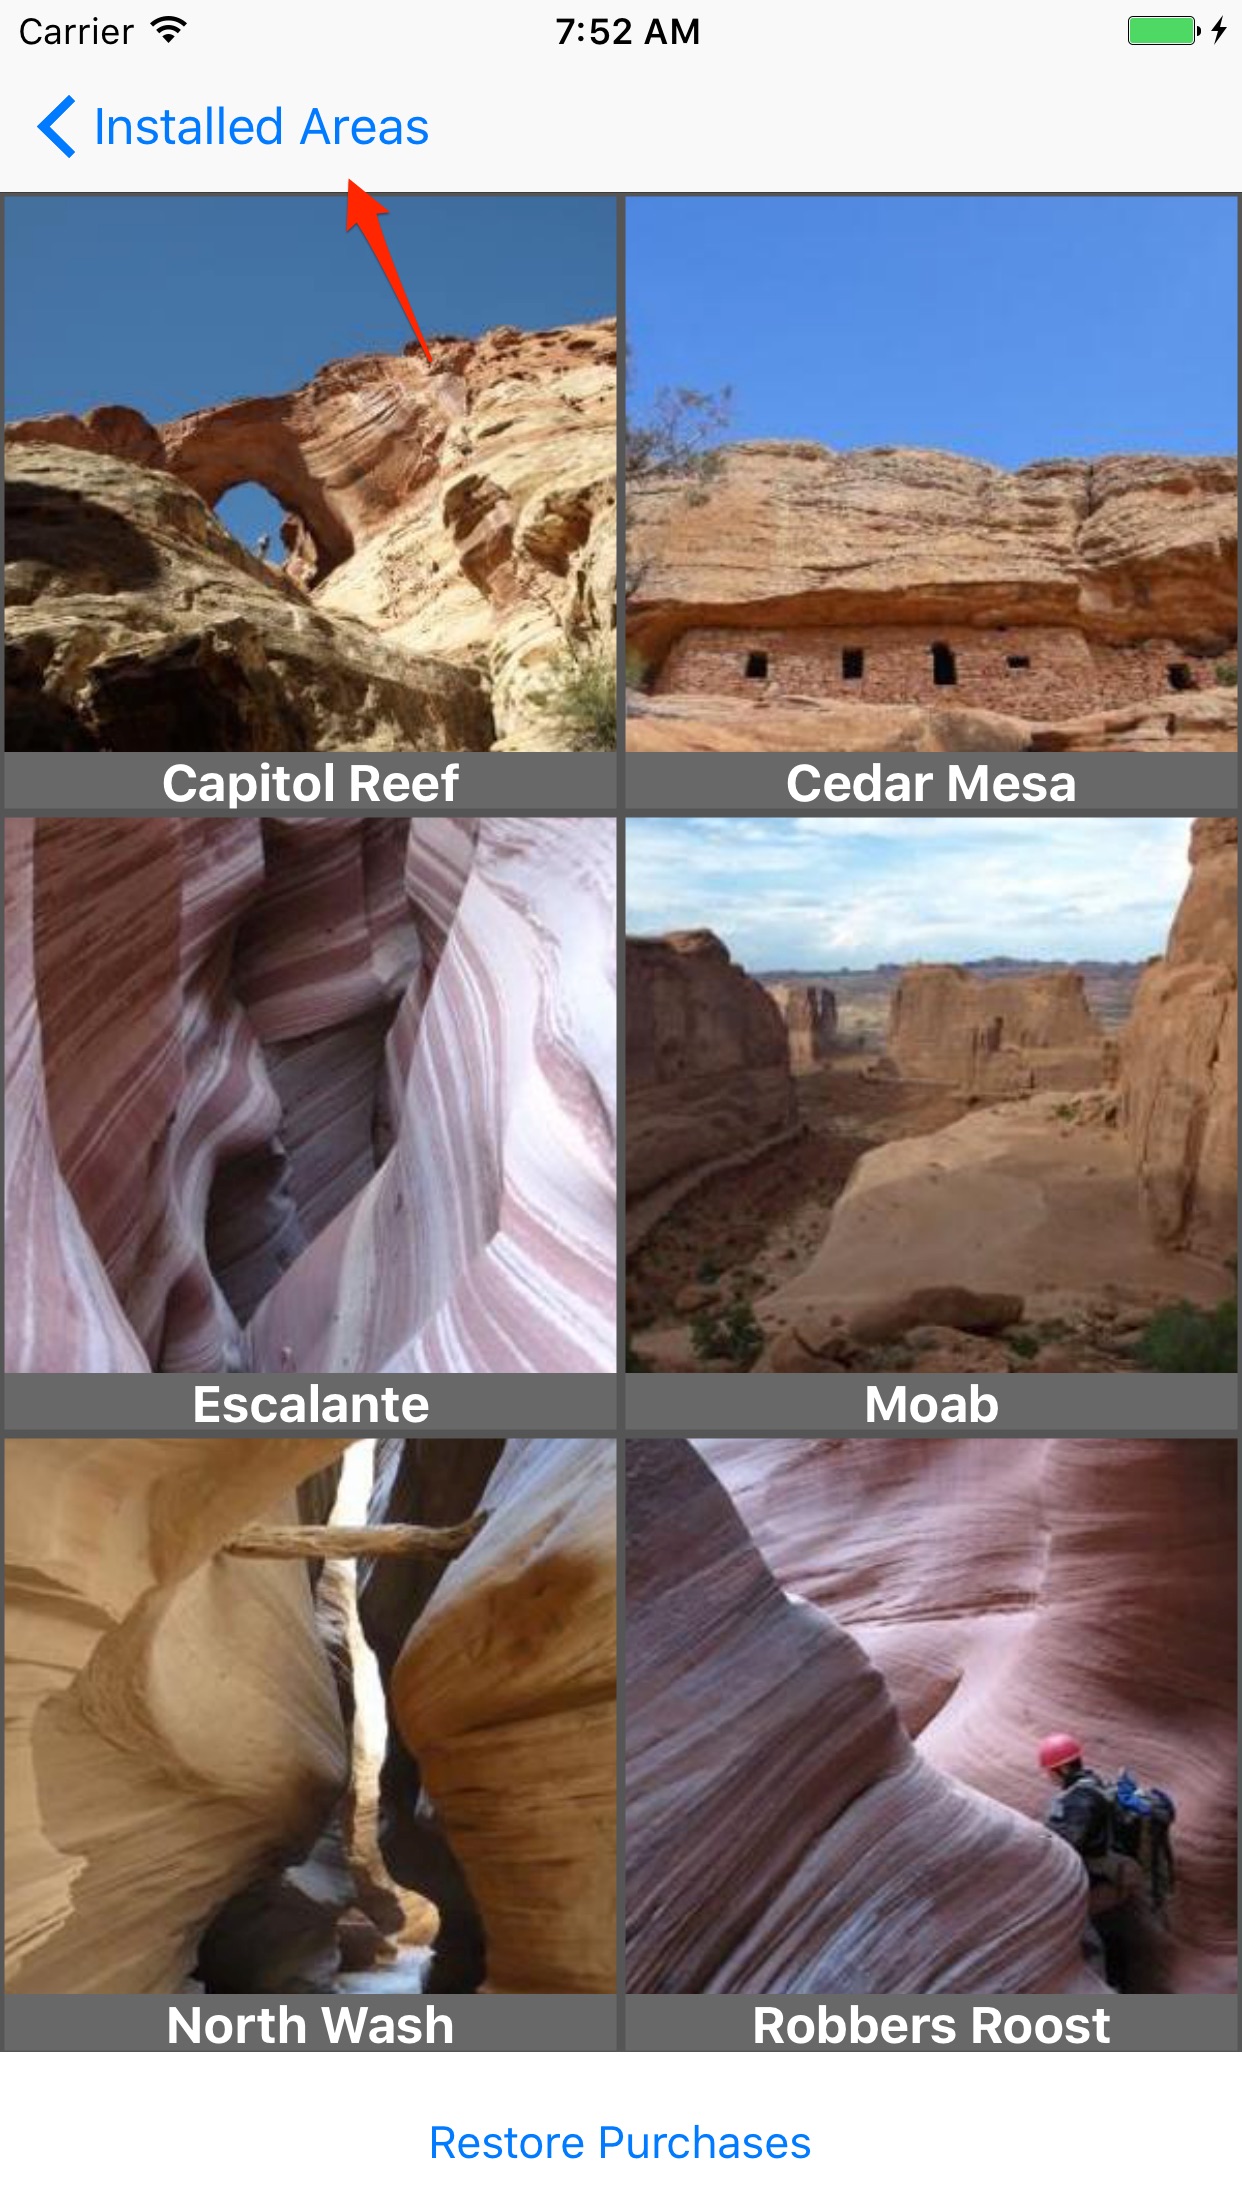
Choose an Area.
Browse the list of all available areas. Tap on an area to view its details—we will use Capitol Reef for this example.
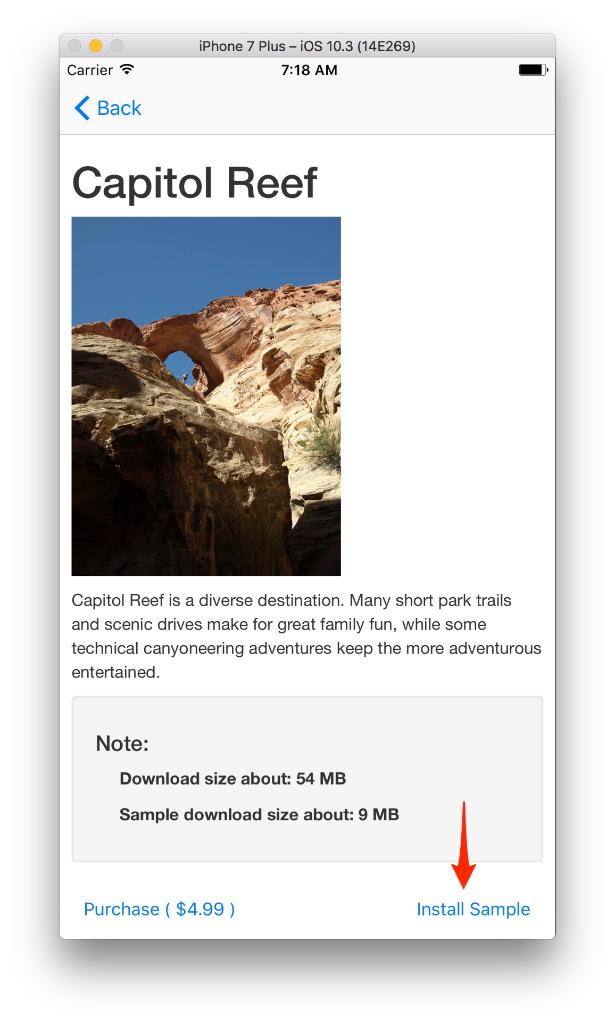
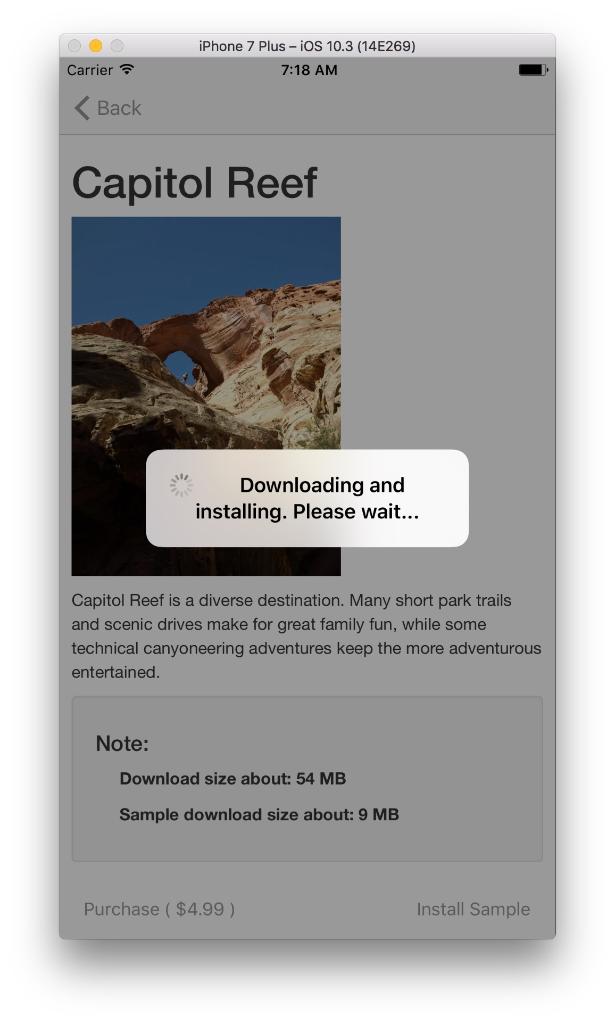
Install the Sample or Buy.
The download may take a few minutes depending on your connection speed. You can watch the progress on the area detail screen.
Navigate Back to Home.
Tap Back and then Areas to return to your main dashboard. Your new area should now be listed and installed.
Enter the Area.
Tap your newly installed Capitol Reef (Sample) to see the available adventures within that region.

Select Adventure Type.
Tap on the activity you are interested in. In this case, we'll choose Canyoneering.

Choose a Trip.
Select a specific route from the list. We'll pick Cassidy Arch.

View Trip Details.
You're in! Use the tabs at the bottom to switch between the Overview, Route, and Map details.
