
 Hiking
Timpanogos Via Timpooneke
Hiking
Timpanogos Via Timpooneke
Mount Timpanogos
Overview


Parking requires a permit on weekends in the summer. See the Timpooneke Trailhead Timed Tickets site for current rules and permit availability.
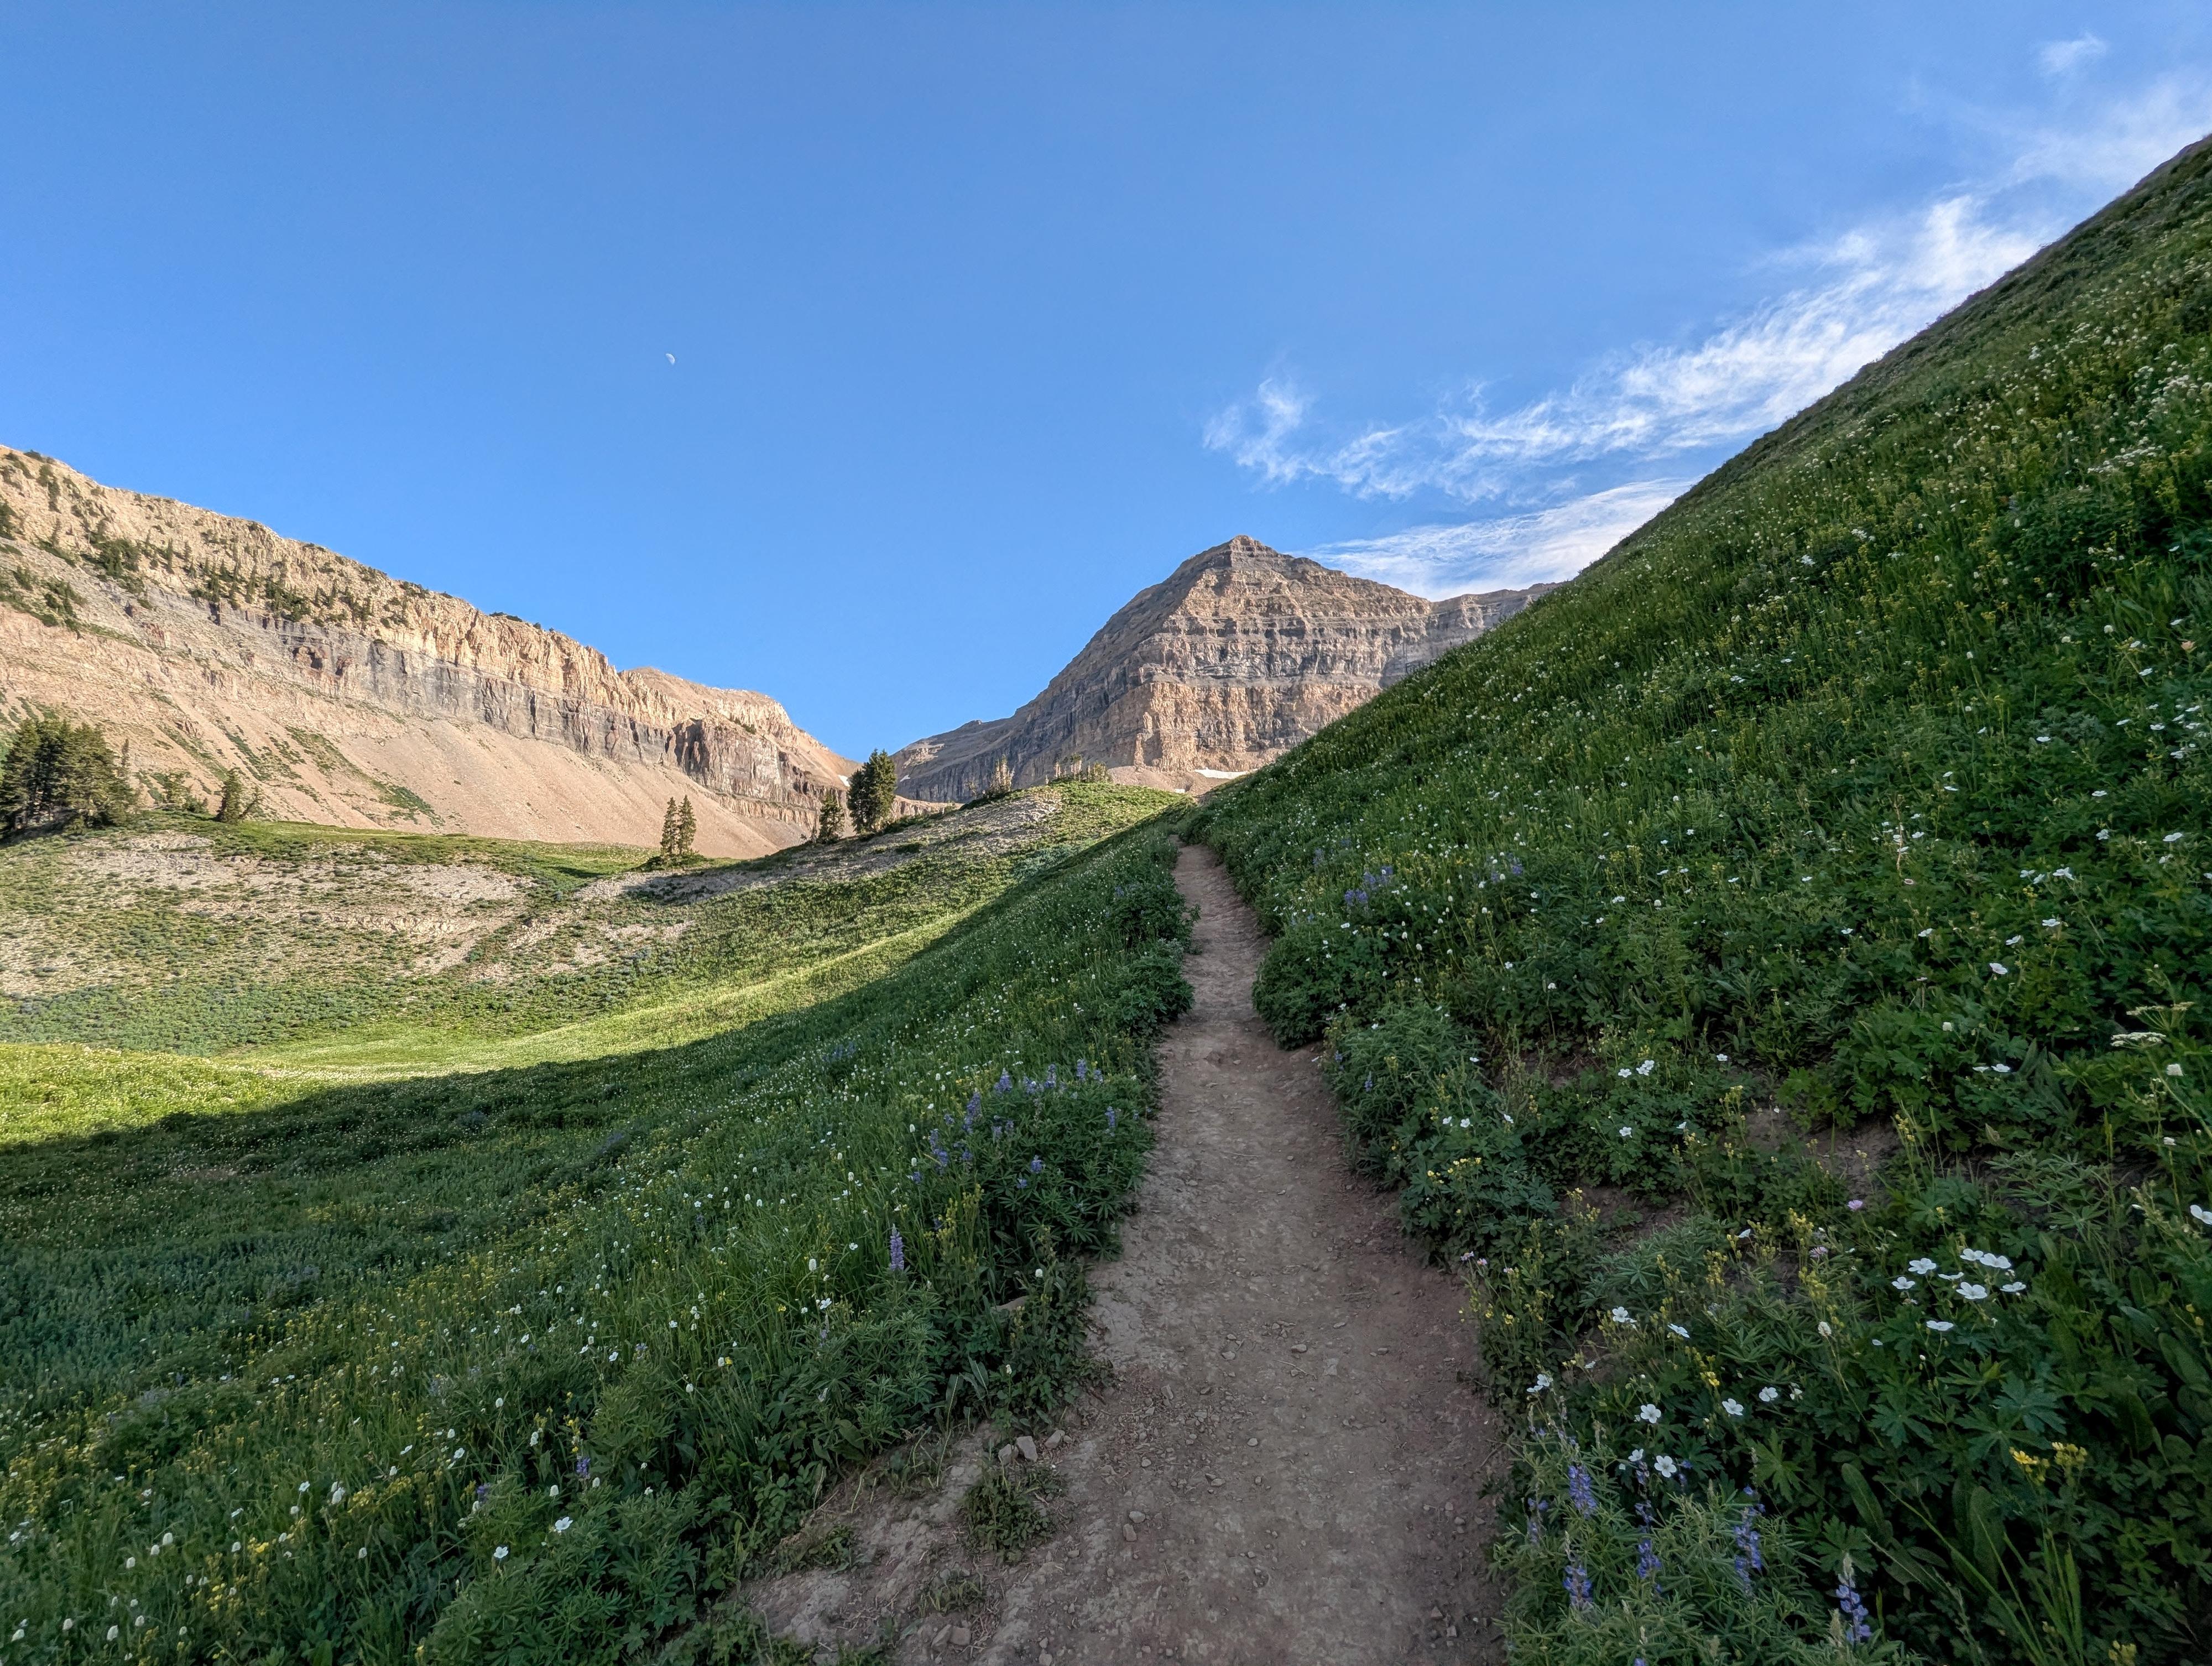
Standing as one of the most iconic peaks in the Wasatch Range, Mount Timpanogos (11,752 ft) is a rite-of-passage summit for Utah hikers. The Timpooneke Trail, described here, is often considered the slightly friendlier approach. Timpooneke was the first route I did to the summit years ago. I thought it was beautiful, but when I did the Aspen Grove route years later, I thought it was much prettier. After getting on the Timpooneke route again, I, personally, prefer the views of the Aspen Grove route more, but the gentleness of Timpooneke does feel a bit easier to me.
Timpooneke (This Route) vs. Aspen Grove Key Differences
While both trails test your endurance with roughly 4,500 feet of vertical elevation gain, their personalities on the mountain are distinct:
Timpooneke Trail
Trailhead: American Fork Canyon
Distance: ~14.2 miles round trip
Elevation Gain: ~4,580 ft
Grade & Terrain: Gradual, steady switchbacks on dirt and gravel
Highlights: Massive wildflower fields, frequent moose sightings
Aspen Grove Trail
Trailhead: Provo Canyon (Sundance side)
Distance: ~15 miles round trip
Elevation Gain: ~4,870 ft
Grade & Terrain: Steeper, abrupt gain; rocky stairs higher up
Highlights: Timpanogos Falls, Emerald Lake, dramatic rock amphitheaters
Why Choose Timpooneke?
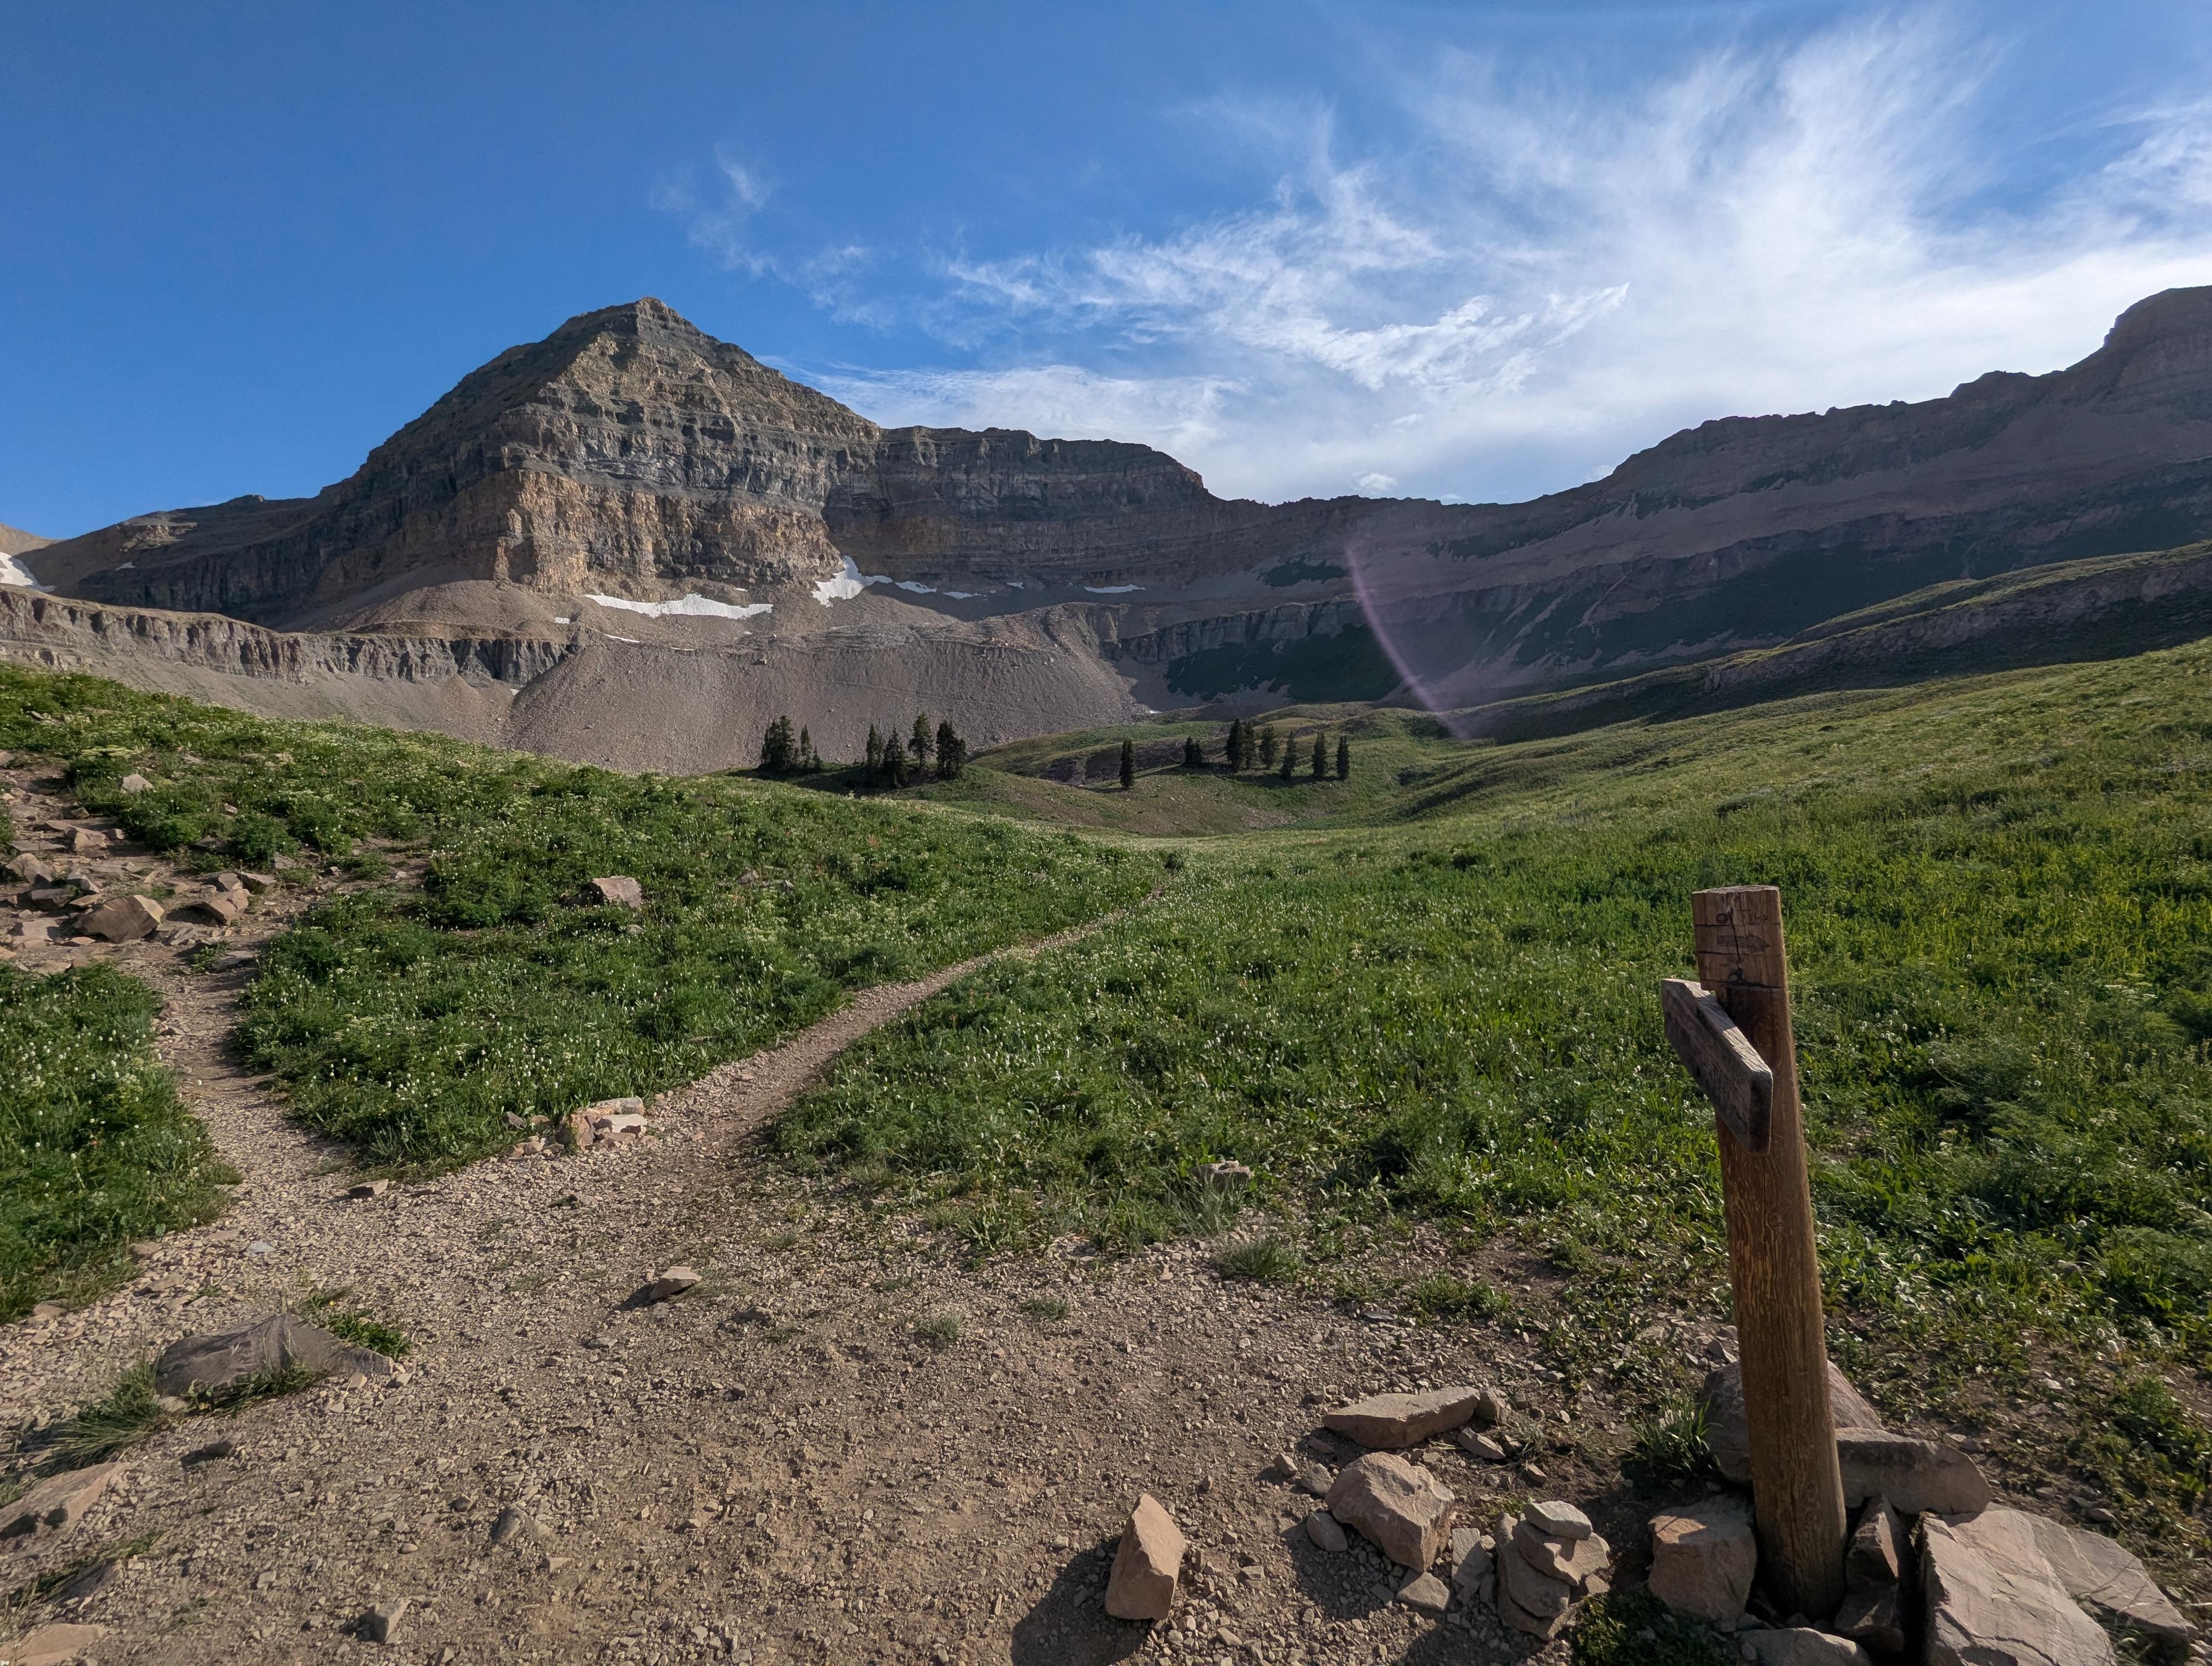
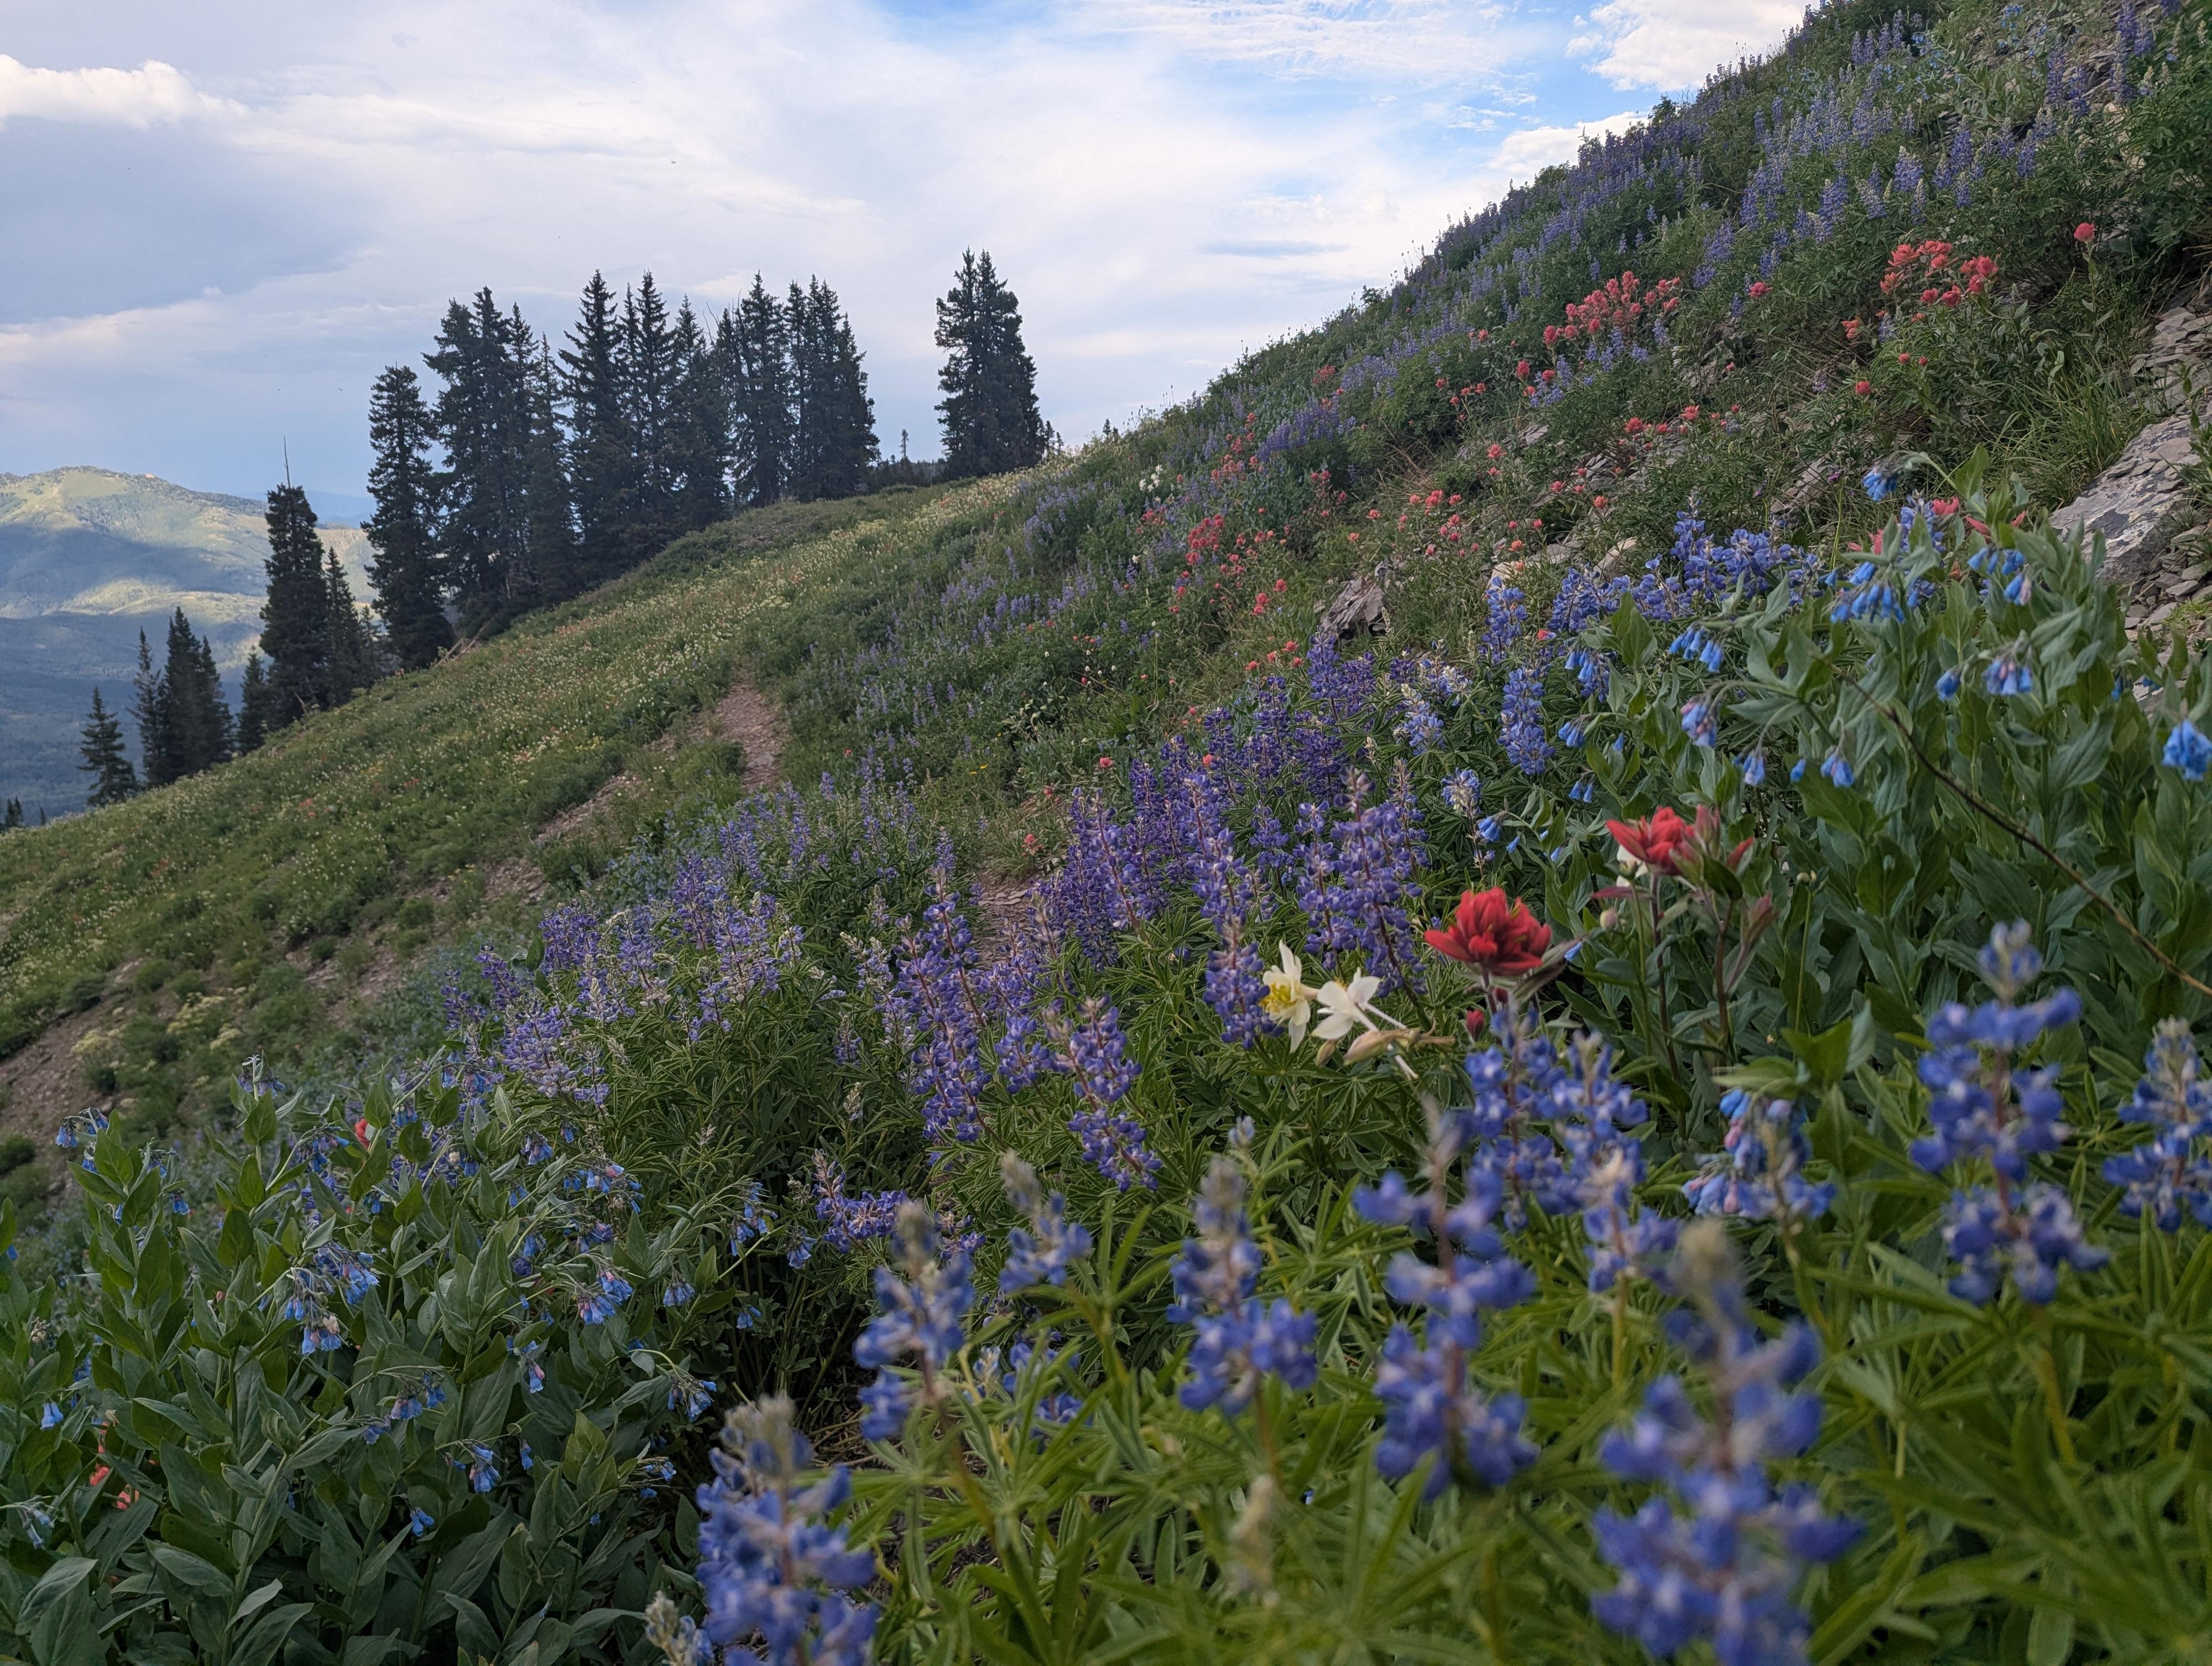
The Timpooneke Trail offers a gentler, steadier rhythm up the mountain, utilizing broad, sweeping switchbacks across northern glacial basins that keep the grade surprisingly forgiving. As you break through the timberline into Timpanogos Basin, the trail cuts through breathtaking fields of lupine, paintbrush, and columbine framed by towering limestone cliffs. Adding to its charm, this lush, marshy route is widely considered one of the best spots in Utah to spot early-morning moose, while mountain goats are frequently seen navigating the upper cliffs near the saddle.
When Aspen Grove Might Be Preferred
If you prefer dramatic, sheer water features right out of the gate, Aspen Grove delivers immediate waterfall views and brings you past Emerald Lake before joining the final summit push. However, it trades Timpooneke’s gentle dirt singletrack for steeper, rockier staircases that seem more strenuous. I really like the open views of the Aspen Grove route and prefer it, though it does feel harder to me.
Getting There
From the fee booth in American Fork Canyon, head east up the canyon on UT-92 E. The road passes Timpanogos Cave, and meanders up. Stay on UT-92 for 8.1 miles to the Timpooneke Campground on the right.
Turn into the camground, and follow the main campground road up for about 0.3 miles to the trailhead and parking lot.
Route Description
To Scout Falls Junction (1.4 miles from the trailhead)
From the trailhead, head south on the trail. In just a minute, it comes to a prominent 4-way junction. Go straight here, south up the valley. (Left is the Salamander Flat Trail, and right is the Equestrian Campground Trail.)
The trail begins climbing. About 1.1 miles from the trailhead, it comes to its first switchback with a social trail going off on the left. This social trail goes to Scout Falls, but via a harder route than the standard Scout Falls trail. Continue up the main trail. At about 1.4 miles, at a switchback, a second trail leaves on the left and goes to Scout Falls. This is the more common Scout Falls side trail. Worth a look if you have time and energy, but otherwise stay on the main trail as it continues its climb.
To Timpanogos Basin (5 miles from trailhead)
About the 2-mile mark, the trail opens with big views and also flattens for a bit before climbing another level. This is a nice place to catch your breath.
About 2.8 miles from the trailhead, the trail makes a sweeping climb across a talus slope and begins a long, steep section climbing into Timpanogos Basin via traverse with a few switchbacks. It steeply reaches the basin about 5 miles from the trailhead.
To The Summit (7.5 miles from the trailhead)
The basin is stunning! The summit looms large above cliffs in the basin. In summer, wildflowers dot the green slopes. It is a magnificent area. Once in the basin, continue a short-distance past an old foundation, probably an old outhouse, to a prominent but unsigned trail junction just past the foundation.
History: On March 9, 1955, a WWII-era B-25 Mitchell bomber crashed into the eastern face of Mount Timpanogos during a severe winter night storm after refueling at Hill Air Force Base, killing all five military and civilian personnel aboard. Flying blind in heavy snow and cloud cover, the aircraft struck the mountain at 10,800 feet, scattering debris across a high scree field that made immediate recovery attempts treacherous. While local mountaineers and military teams eventually retrieved the bodies by late spring, the steep alpine terrain made removing the plane impractical; crews stripped sensitive equipment, burned structural components on-site, and painted the remaining metal green to prevent false alarms from future search flights, leaving the radial engines and heavy aluminum remnants preserved in the rock field to this day.
To visit, a GPS is strongly recommended. From the junction, follow the most used trail that goes right (northwest) at the junction, more or less contouring level northwest and around the corner. The social trail ends when it reaches a small stream coming from a pond and spring in the basin. If you need water, this generally has a good flow to filter.
To see the wreckage, I didn't see any social trails on my visit. Instead, from the stream, follow the map/GPS carefully, heading northwest about 1/2 mile from where the stream is. The upper engine sits at about 10,700 feet in elevation, and a second, lower engine sits at about 10,500'. They are somewhat difficult to find without a GPS point to aim for.
Continuing to the Summit
From the Bomber Side Trail, stay on the main trail (left) as it continues up the basin. About 500 feet from the Bomber Side Trail, a major junction is reached. To reach the summit, you can go either way here.
Straight (left):
Straight goes south across the basin and climbs to a trail junction to Emerald Lake. Go right at this junction to angle up the mountain to the saddle.
Right:
This is the route that I have seen more people take. The trail heads west, then makes a couple of long switchbacks up to the ridge and saddle. This route is only slightly shorter than the Straight (Emerald Lake Jct.) route.
From the Saddle
From the saddle, head south on the trail that is now on the west side of the range, overlooking the busy valley below. The trail climbs to the summit with 2 steep switchback sections en route. These are rocky and can require a tiny bit of route finding. When you reach the old Glass House, you have reached the summit.
Photos
Maps
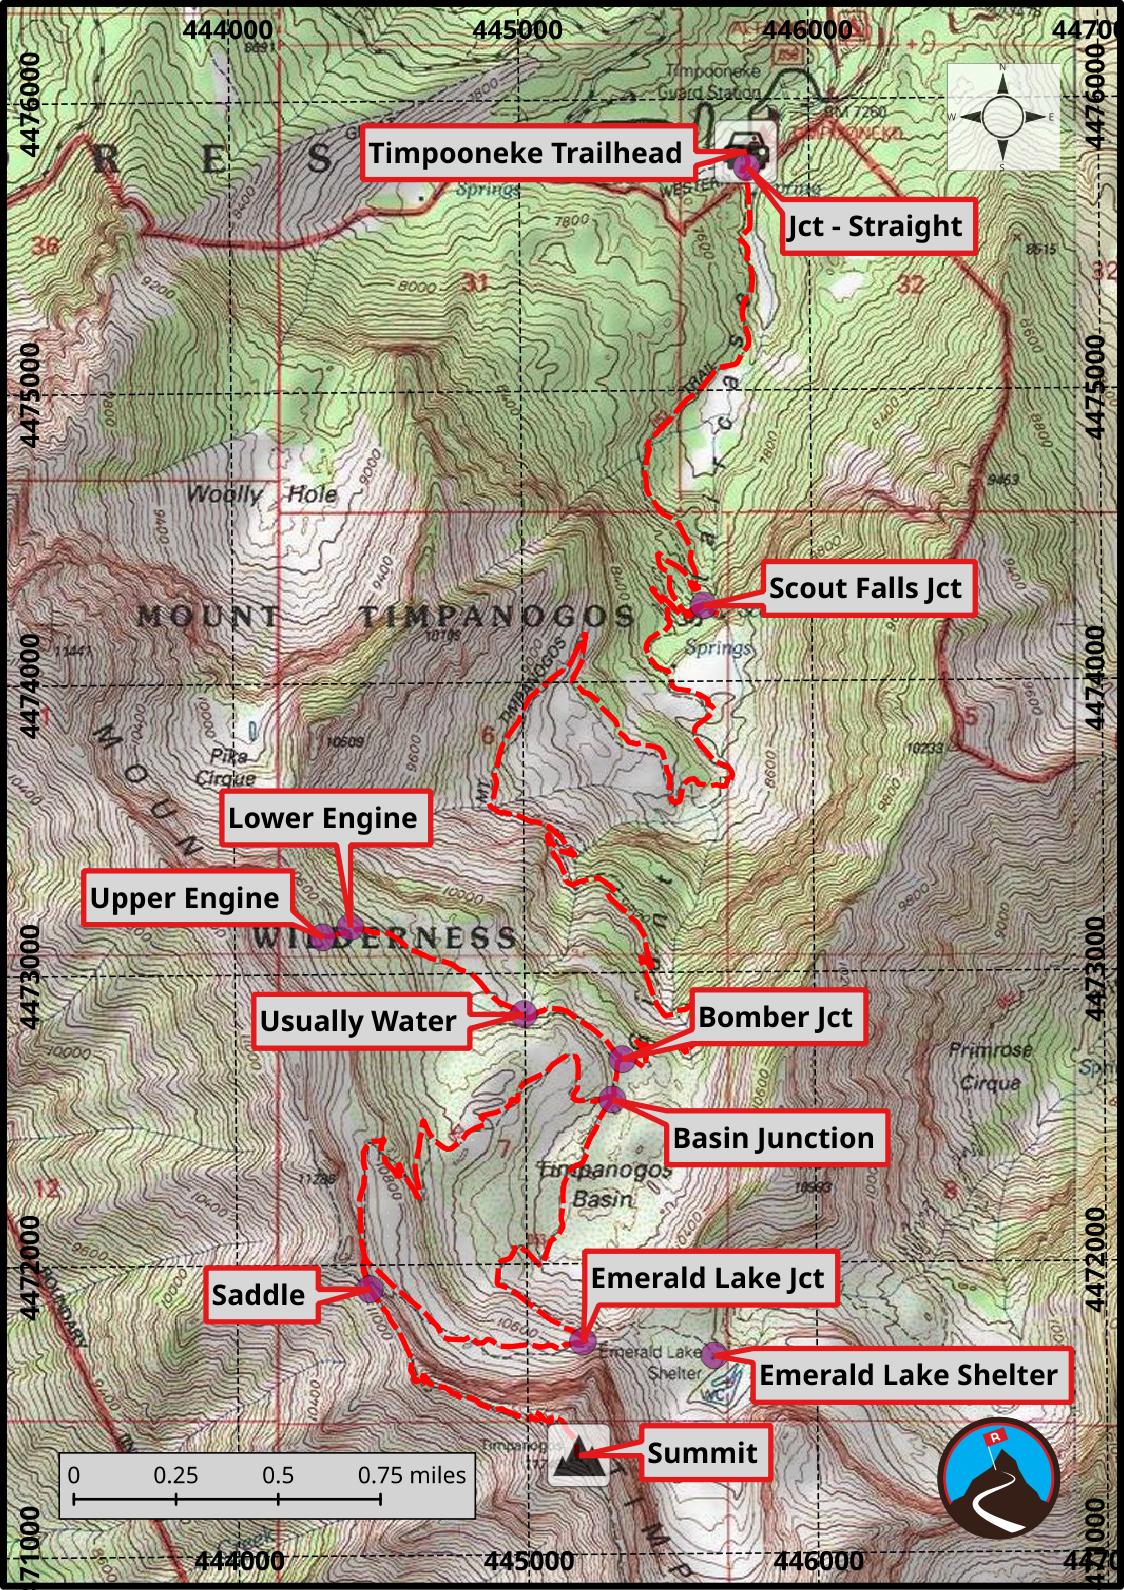
12T 445784E 4475819N
40°25'52"N 111°38'21"W
12T 445787E 4475765N
40°25'51"N 111°38'21"W
12T 445626E 4474259N
40°25'02"N 111°38'27"W
12T 445335E 4472701N
40°24'11"N 111°38'39"W
12T 444996E 4472858N
40°24'16"N 111°38'54"W
12T 444303E 4473127N
40°24'25"N 111°39'23"W
12T 444399E 4473162N
40°24'26"N 111°39'19"W
12T 445299E 4472562N
40°24'07"N 111°38'41"W
12T 445192E 4471730N
40°23'40"N 111°38'45"W
12T 445645E 4471679N
40°23'38"N 111°38'26"W
12T 444457E 4471916N
40°23'46"N 111°39'16"W
12T 445175E 4471339N
40°23'27"N 111°38'45"W